
Simply Secen earns from qualifying purchases. This post contains affiliate links. If you choose to purchase after clicking a link, we may receive a commission at no extra cost to you.
Stuck on what to get your co-worker or neighbor for the holidays? Need a last minute hostess gift?
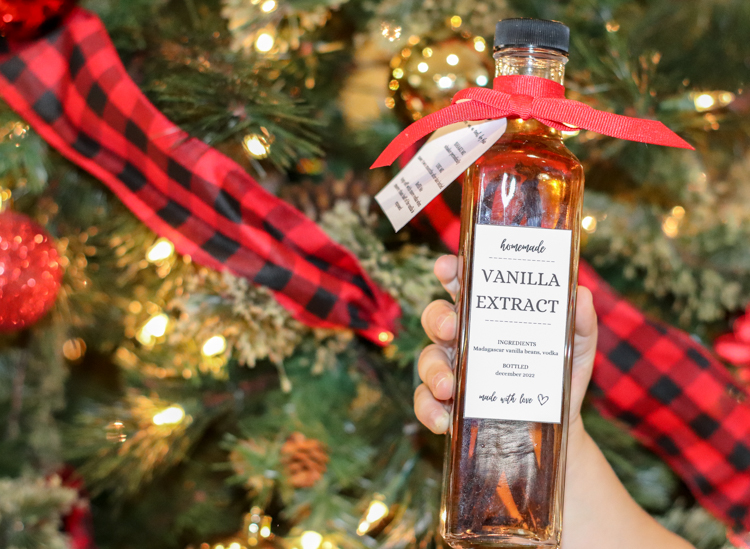
Homemade vanilla extract makes a great gift! It’s quick, easy, cost effective, and it gives the gift a personal feel, plus homemade vanilla seems pretty fancy.
Ingredients
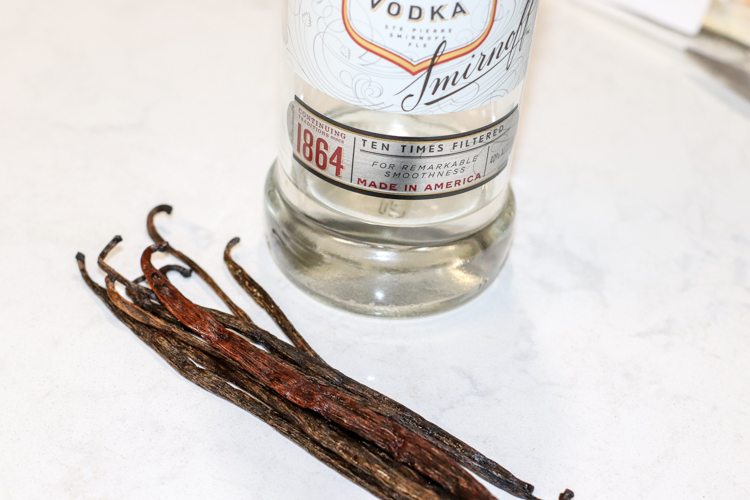
Homemade vanilla is made with two ingredients; vanilla beans and vodka…yup, that’s it!!
I’ve used both Madagascar and Tahitian vanilla beans
You can use any vodka you’d like, you can also try another alcohol – bourbon, rum, whiskey. I just mad a bottle with Capitan Morgan and it added the most perfect warm flavor to the cookies.
Supplies
- 8 oz glass bottle with a tight lid
- funnel
- scissors
Instructions
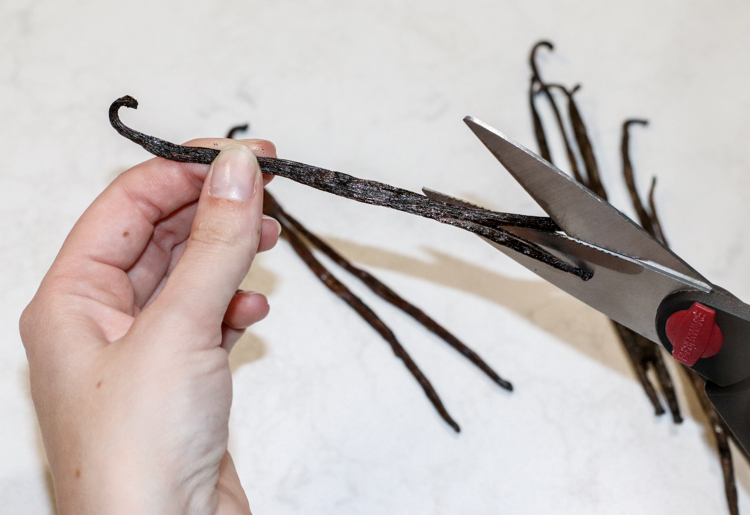
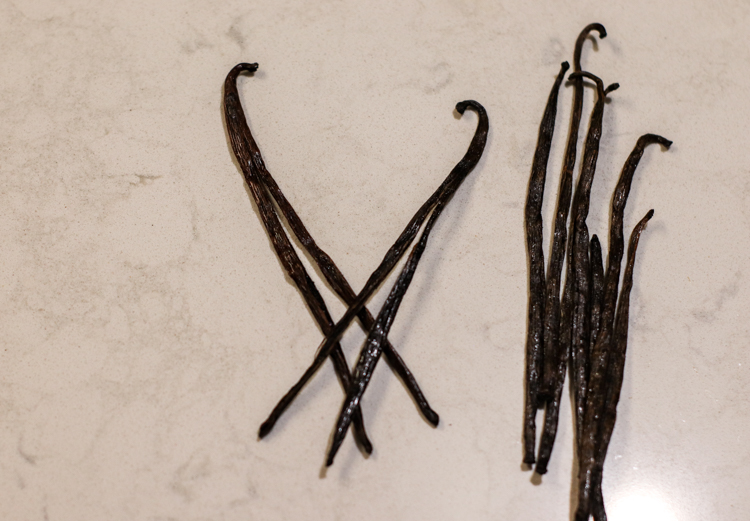
- Using a pair of scissors, cut the vanilla beans down the center, keeping one end together.
- Place 5-6 beans into the 8 oz glass.
- Using the funnel, pour vodka into the glass until it covers the beans fully.
- Put the lid back on, and shake the bottle a few times.
- Store in a dark, room temperature space for at least 2 months before use. Shaking occasionally before use.
What next?
After 2 months, you can start using your vanilla in all your recipes!
When the beans become exposed, you can refill as often as needed to make sure the beans are submerged. I will let my beans be uncovered at least half way before refilling.
I have seen a few different things about the life of homemade vanilla extract. Some sites say it is good for 3-5 years, and I’ve seen some that will say it is good forever. I have had mine, for a little over 3 years and have refilled it multiple times. I think it is reaching the end of its life. I have noticed that when I use it without baking (we like homemade ice cream), you can taste the vodka. So I think, once the taste and smell are more alcohol forward, it is time to make a new batch.
Personalize Them
If you want to personalize them, you can use my labels and tags.
These are dated for last year, so you will need to edit. You can even edit these to add your name, or you may need to change the ingredients. The easiest way to do that, is via Canva, and I have listed step-by-step directions below.
For the tags, card stock is the best. For the labels, I printed them on a full size shipping labels and then cut them to size.
How to use PDF
- Download
- Create FREE account on Canva
- Import to Canva
- Simply Delete this page when finished, by clicking on the page and then the trash can
How to Import and Edit a PDF on Canva – From https://www.canva.com/features/pdf-editor/
Import a PDF file
On your Canva homepage, click the Create a design button on the top-right corner, and select Import PDF to select your document. Or simply drag and drop your file to your homepage. It will then convert your PDF into a Canva design.
Customize your PDF
Locate your converted PDF in the All your designs section. Click the corresponding design thumbnail and begin editing your PDF. Resize your file or instantly change the text, images, graphics, and other elements that are present in your PDF file.
Transform into any design asset
Next, elevate your PDF-based designs into any creative asset. Add animations, GIFs, or music to make videos or presentations. Or resize into printable cards, brochures, postcards, and more.
Compress and convert
On the upper right corner of the editor, compress and download your work. Turn your custom design into JPEG, PNG, and SVG files, or in PDF again. Capture any animated elements and effects by ideally saving them in MP4 video or GIF.
Share and publish in any format
Conveniently share your work straight from Canva. Give access to view or edit your design with a click of the Share button on the upper-right corner. Or, click the three dots to choose between publishing your assets on your social media or as a presentation, website, or an embedded link.
Enjoy!
Check out a few other DIYs that make the best gifts: Teacher Gifts, Doormat