
Our need for a toddler bed came quicker than we were expecting. That was probably mostly my fault. I always like to challenge Graham and see if he can hit milestones as early as possible. In this case, I kept trying to teach him to get out of his crib. In hindsight, this wasn’t one of my better ideas.
We would put him down for bed and he would decide he didn’t agree with that plan and he would put a leg over the railing and hop out. This was cute at first, but soon it became a hazard and we decided it was time to switch over to a toddler bed.
We took a look at a few options but didn’t want to spend too much and we knew that it would have to be close to the floor because of how much Graham moves in his sleep. In researching, we decided it would be best to just make our own. We found a few ideas that we liked, but ultimately just made something simple.
In this post I will go over the tools needed, the process of putting it together, and show what the end result looked like. We made a frame for a twin mattress, but the measurements can be adjusted for other sizes as well.
Tools and Supplies Needed
- Tape Measure
- Pencil
- Miter Saw
- Circular Saw
- Drill
- (2) 76″ 2×6 Board
- (2) 43″ 2×6 Board
- (3) 73″ 2×4 Board
- (2) 40″ 2×4 Board
- (1) 75″ x 40″ MDF Board (base)
- 2 1/2 inch construction screws
- Stain (sponges or cloth to apply stain)
- Orbital Sander/Sand paper (optional)
Let’s Get Building!
Step 1
Once you have all of the tools, materials, and lumber purchased you will need to measure out the base of your bed. You will need to measure out all sides (We chose to make them slightly longer than the mattress we bought to make sure it was long enough). You will need to measure and cut TWO 76″ pieces and TWO 43″ from the 2×6 boards. Mark where you need to cut, and then use the miter saw to make a clean cut. Sand down both edges to make sure there are no loose splinters that can hurt your toddler. The boards for the outside of the bed are now complete.
Now, you need to cut the boards that will make up the inside track for the MDF board to sit on. You will need THREE 2×4 boards cut to 73″ and TWO 2×4 boards cut to 40″. I did not sand these, since they will not be visible, but that is up to you.
The final board that needs cut is the MDF (mentioned above) and this board is what the mattress will rest on. Because I only have an SUV I chose to have Home Depot cut this board for me, as opposed to waiting to cut it at home. Again, this was personal preference so that is up to you. If you do choose to cut it at home, this is where the Circular Saw is used. Cut the board to 75″ x 40″. The reason I chose this board and not just plywood is due to price. Although this board is MUCH heavier, it is actually cheaper than plywood.
Step 2
We chose to stain the boards before we put it together so we could stain in the garage and carry each piece to Graham’s room separately. Because of the size and weight, this was the easier option for us. To stain we chose Early American. We then used cheap sponge applicators from Home Depot to apply.
Step 3
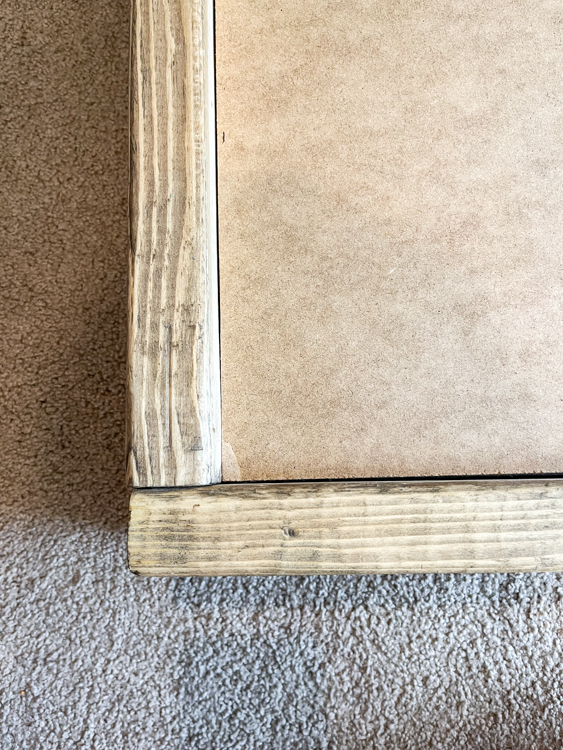
Now comes the satisfying part! You will need to take the long 2×6 boards and connect them to the short 2×6 boards using the 2 1/2 inch construction screws and your power drill. Be sure to screw the long boards inside the short boards, otherwise the bed will be too wide and not long enough (I am speaking from experience, SMH).
In addition, You will want to screw together the 2×4 boards, as well, so they do not fall down once inside the frame.
Step 4

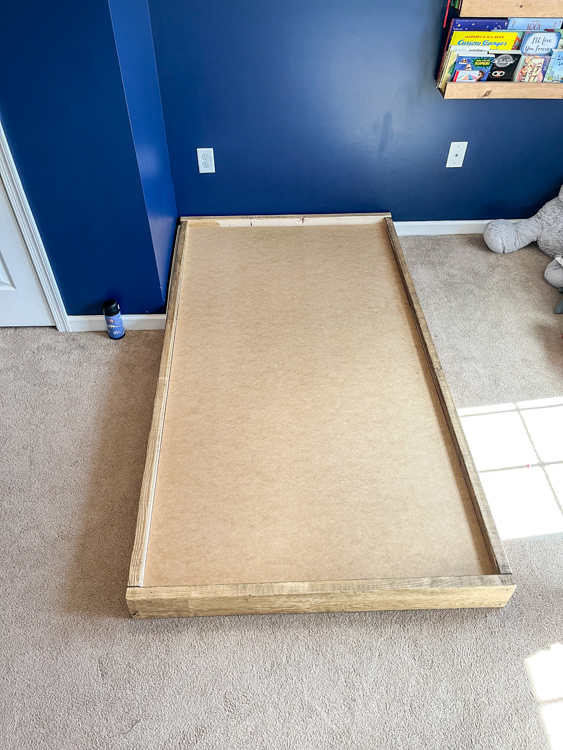
The final step is to place the 2×4 boards inside the 2×6 frame. Make sure they fit snug and then place the MDF board on top. The bed frame is now complete! You can place your mattress on top and your little toddler can enjoy the freedom of no crib.
Finished Product
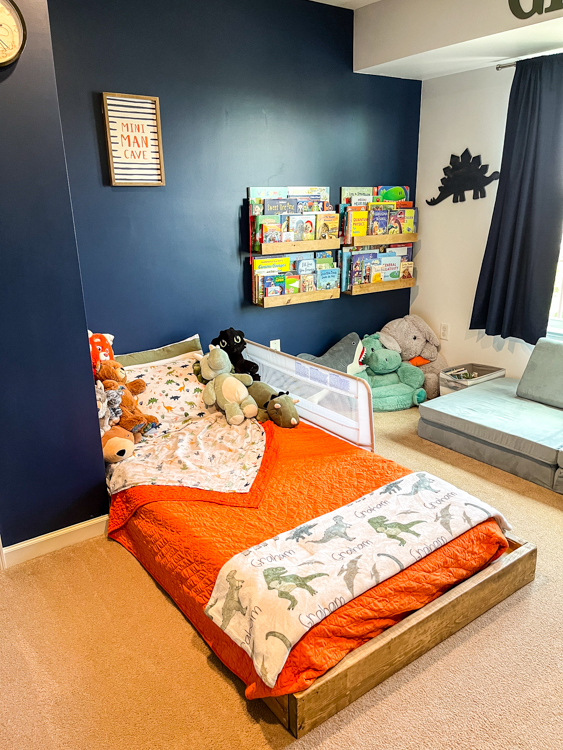
Here is what our finished product looks like.
This post contains affiliate links. If you choose to purchase after clicking a link, we may receive a commission at no extra cost to you.
We chose a 6″ foam mattress from Amazon, this waterproof mattress cover (link here), and this swing down bed rail (link here) to make sure our son didn’t roll off the bed, with his newfound freedom.
Let us know your thoughts and if you found something that worked better for you.