Halloween has always held a special place in my heart. It’s that one day when I can step out of my ordinary life, let my hair down, and become someone entirely different. The chance to express myself, embrace a little bit of craziness, and share in the enchantment of it all is something I eagerly anticipate each year. In fact, Halloween was a tradition in Eric’s family, with a yearly Halloween party, and everyone vying to win Best Costume.
However, there’s one thing you should know about me—I’m a budget-conscious Halloween enthusiast. The idea of paying $40 or more for a costume I’ll wear only once sends shivers down my spine, much like a visit to a haunted house. So, every year, I challenge myself to create the most fantastic DIY costumes or hunt down the best deals possible. And this Halloween season is no exception!
I’ve always been a fan of group costumes, and this year, I decided to let my son Graham take the lead in choosing our theme. His current obsession with “Wild Kratts” made it a no-brainer when he selected it as our theme:
Graham as Martin Kratt (his favorite brother)
Eric as Chris Kratt
Audri as a magnificent snow leopard
And me, as Aviva
Our journey began with a virtual trip to Amazon, where I hunted for the base pieces to bring our outfits to life. Once the clothing was sorted, the challenge remained: how to craft the iconic Creature vests.
This post contains affiliate links. If you choose to purchase after clicking a link, we may receive a commission at no extra cost to you.
Materials
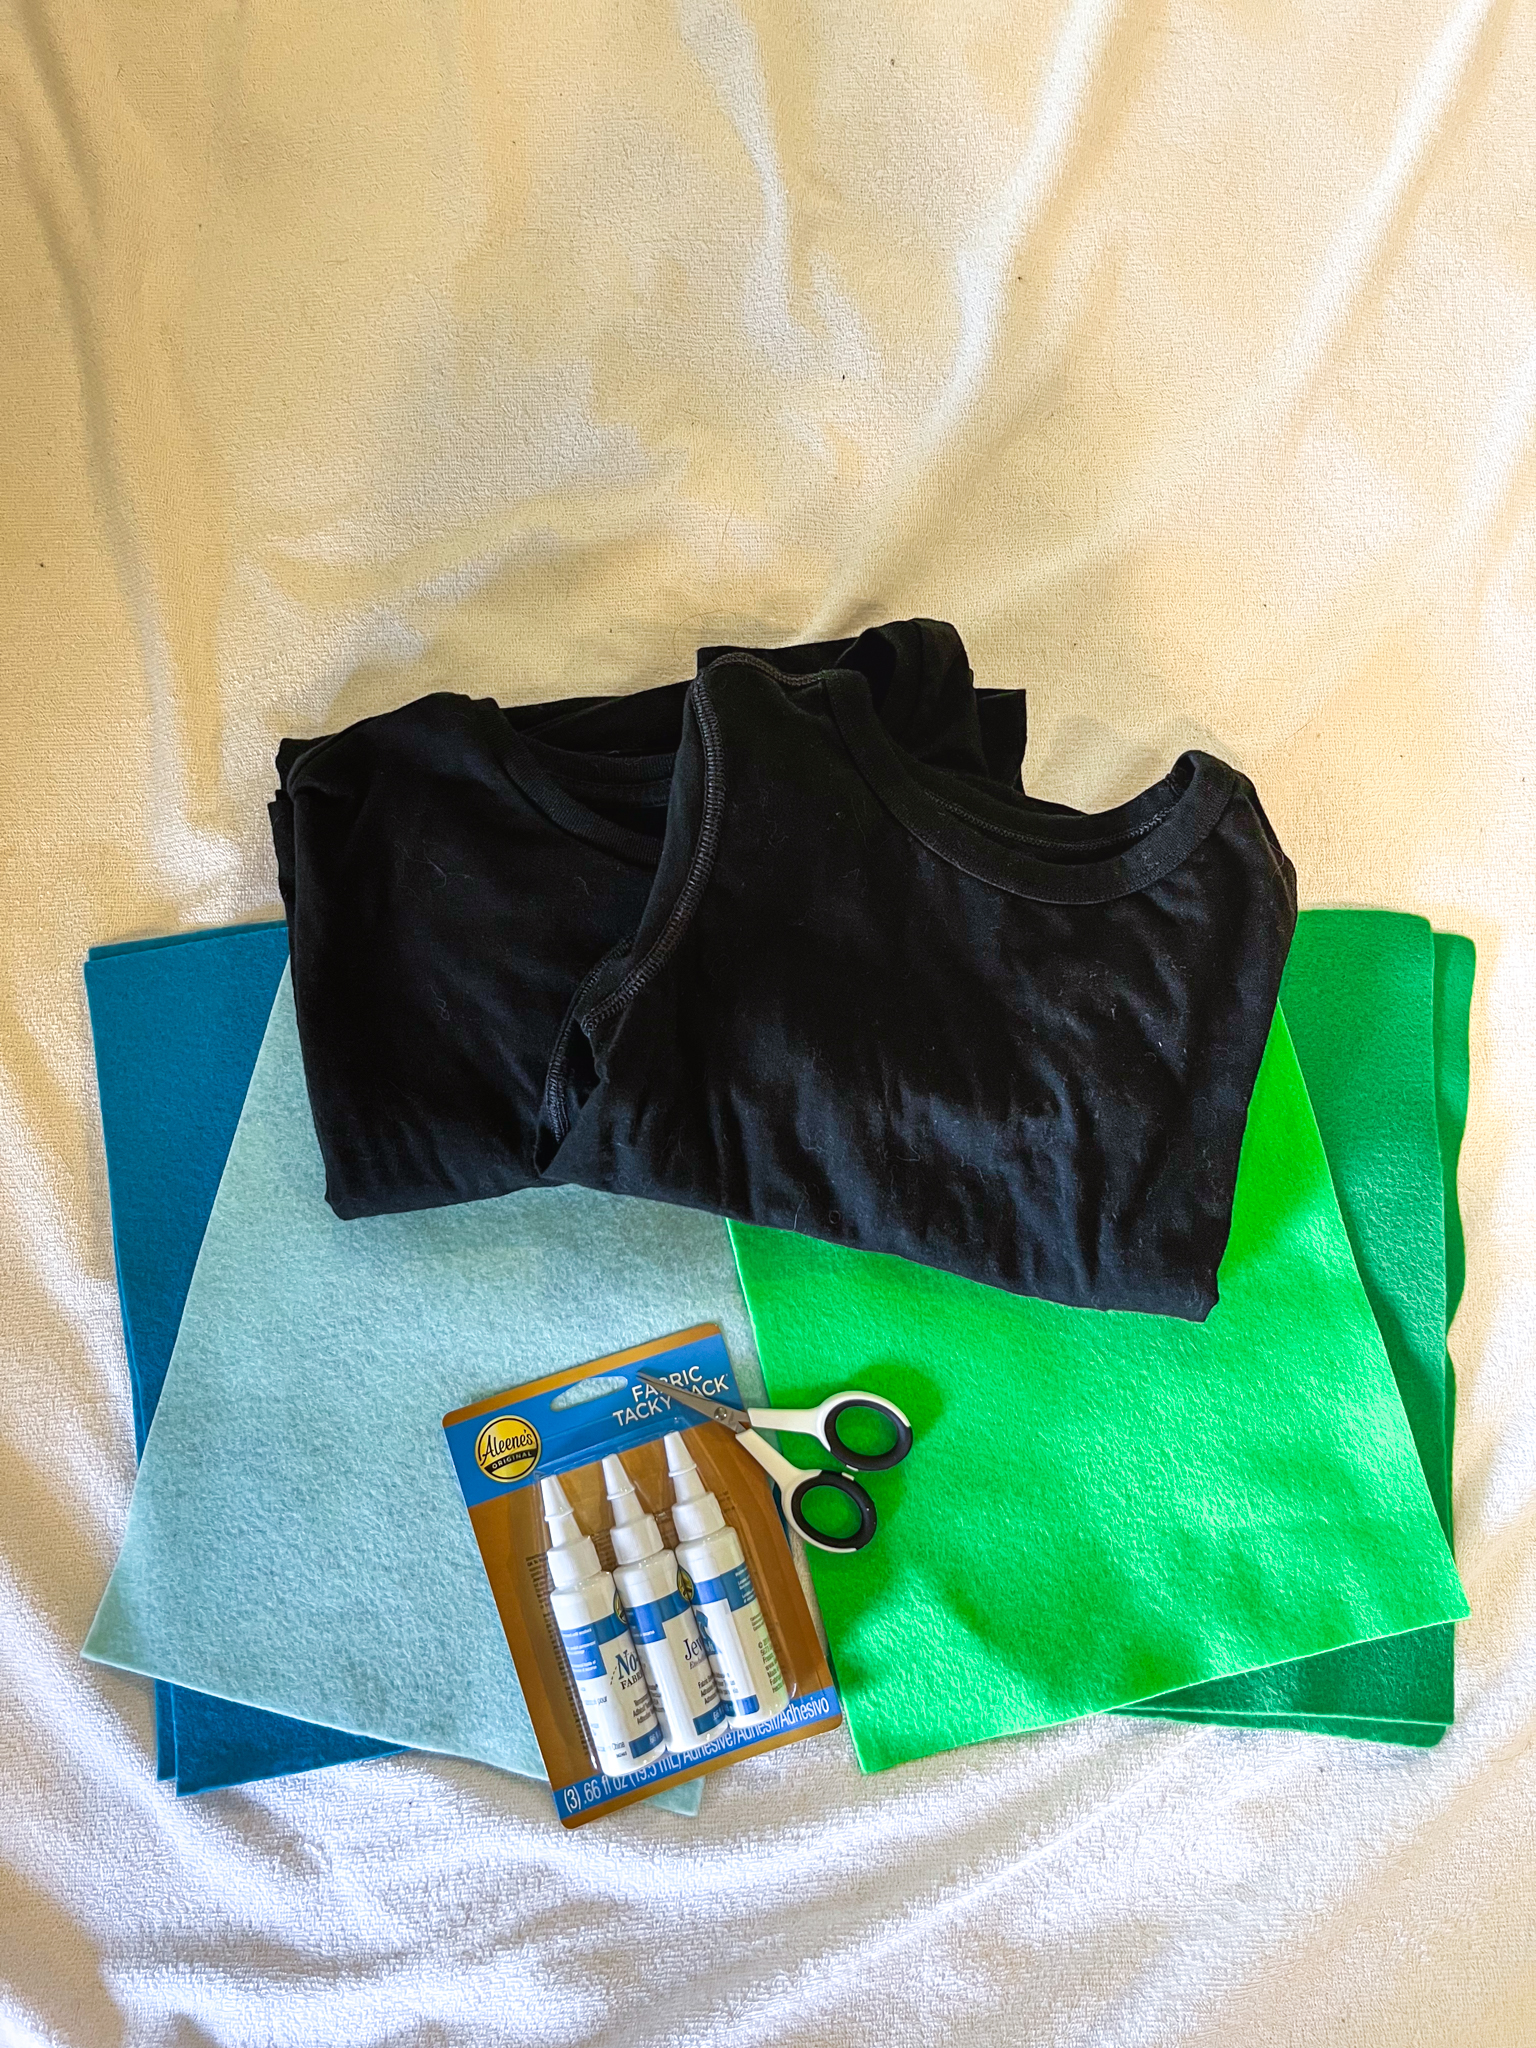
- Black t-shirt
- Fabric scissors
- Fabric glue
- Colored felt – blue for Martin, Green for Chris
- Something to trace to make perfect circles (I used two different sized candle holders)
- Ruler
- Sharpie
How To
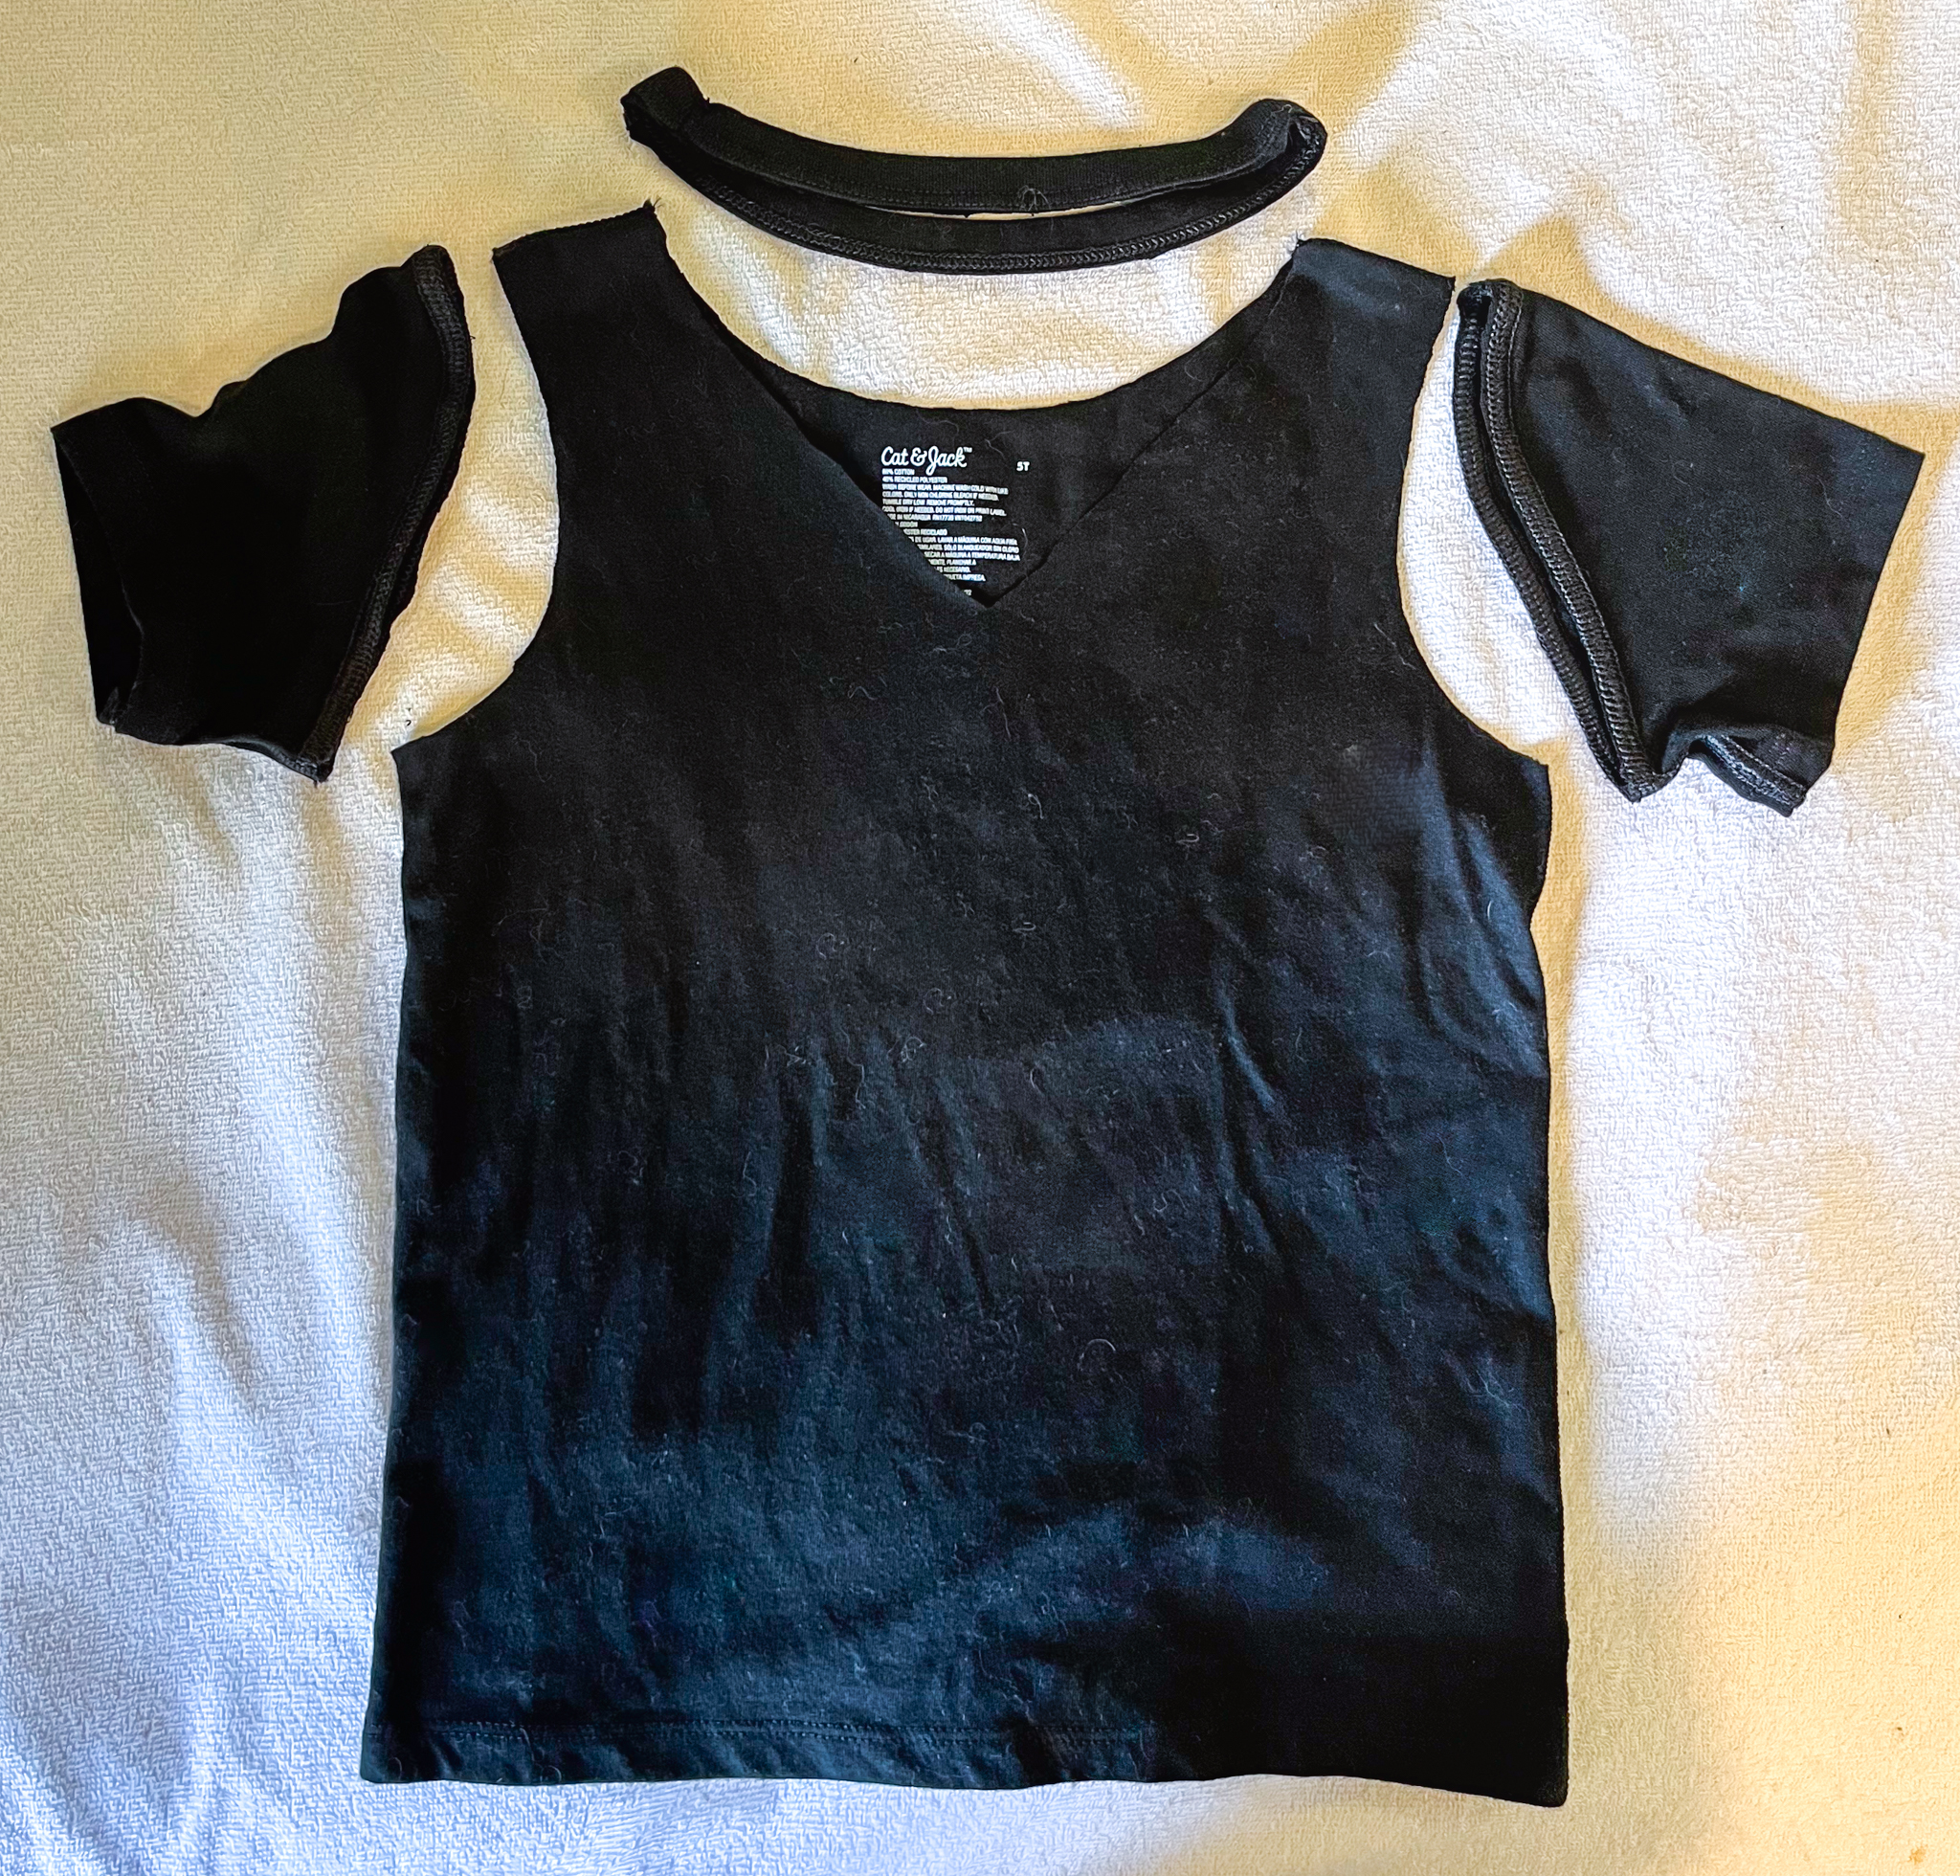
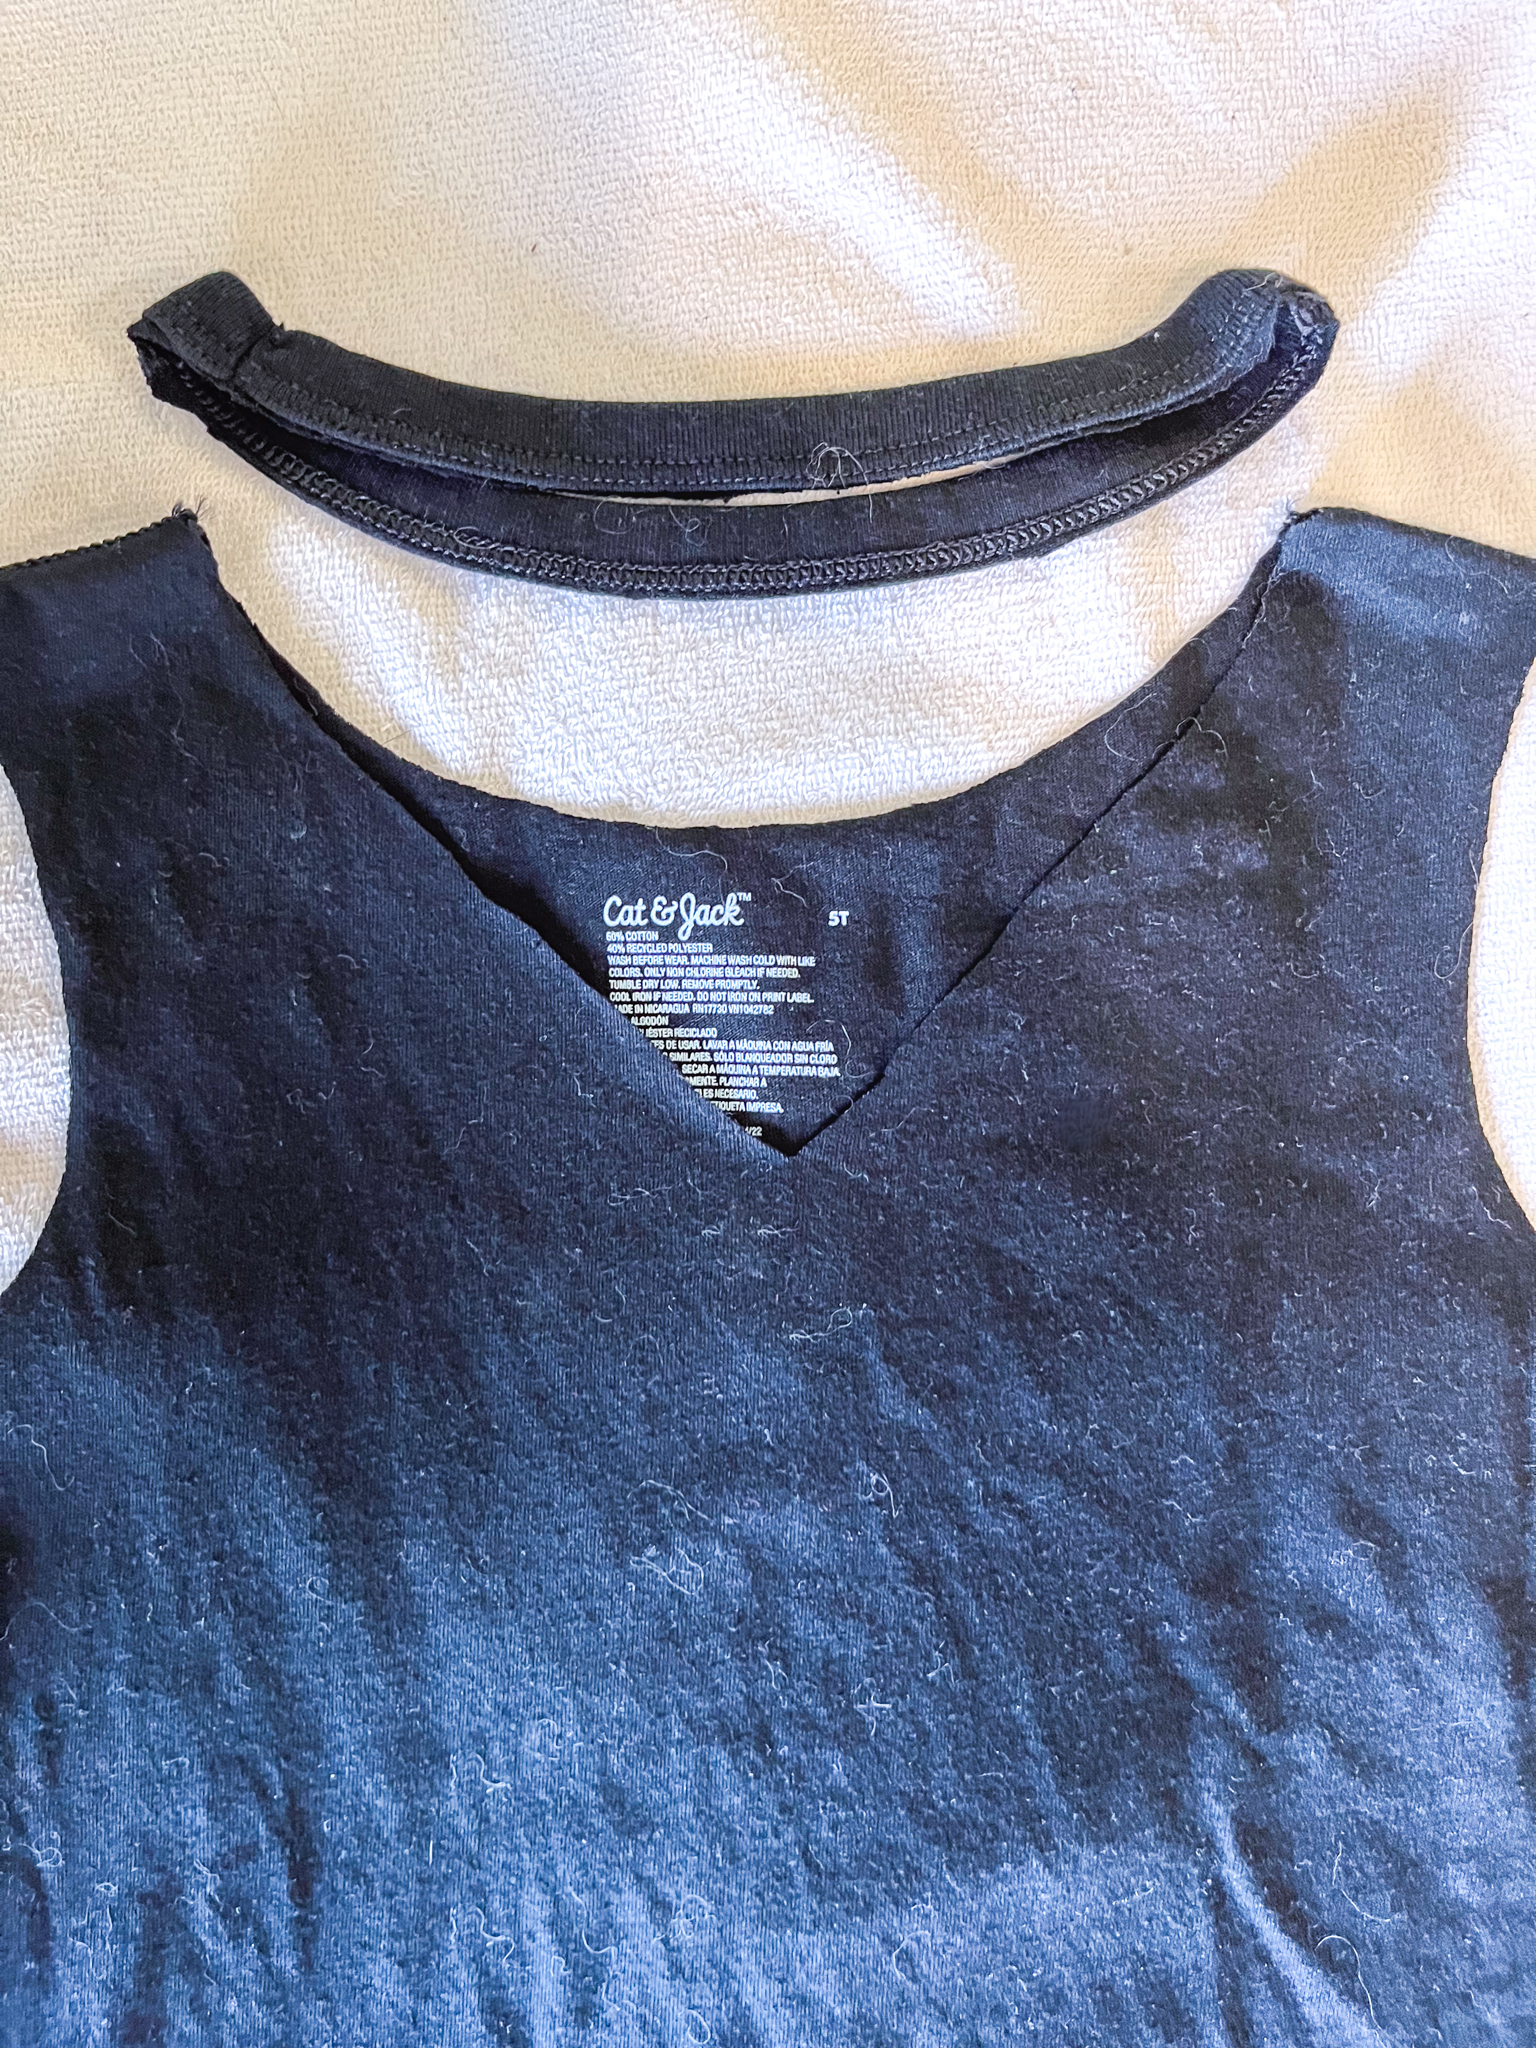
Step 1: Remove sleeves and collar.
First, I originally just cut along the outside of the seam for both. After looking at pictures, I realized the vests had a v neckline, so I just free-handed a different shape neck line.
Step 2: Make and cut out the colored accents.
You will need 1 large circle, 3 smaller circles, and 3 strips the same length and width.
For the circles, I found 2 different sized candles that were the sizes that I wanted and traced them onto the felt.
Next, I used my ruler to make 3 strips, I then measured one strip into four even sections, and two strips into three sections.
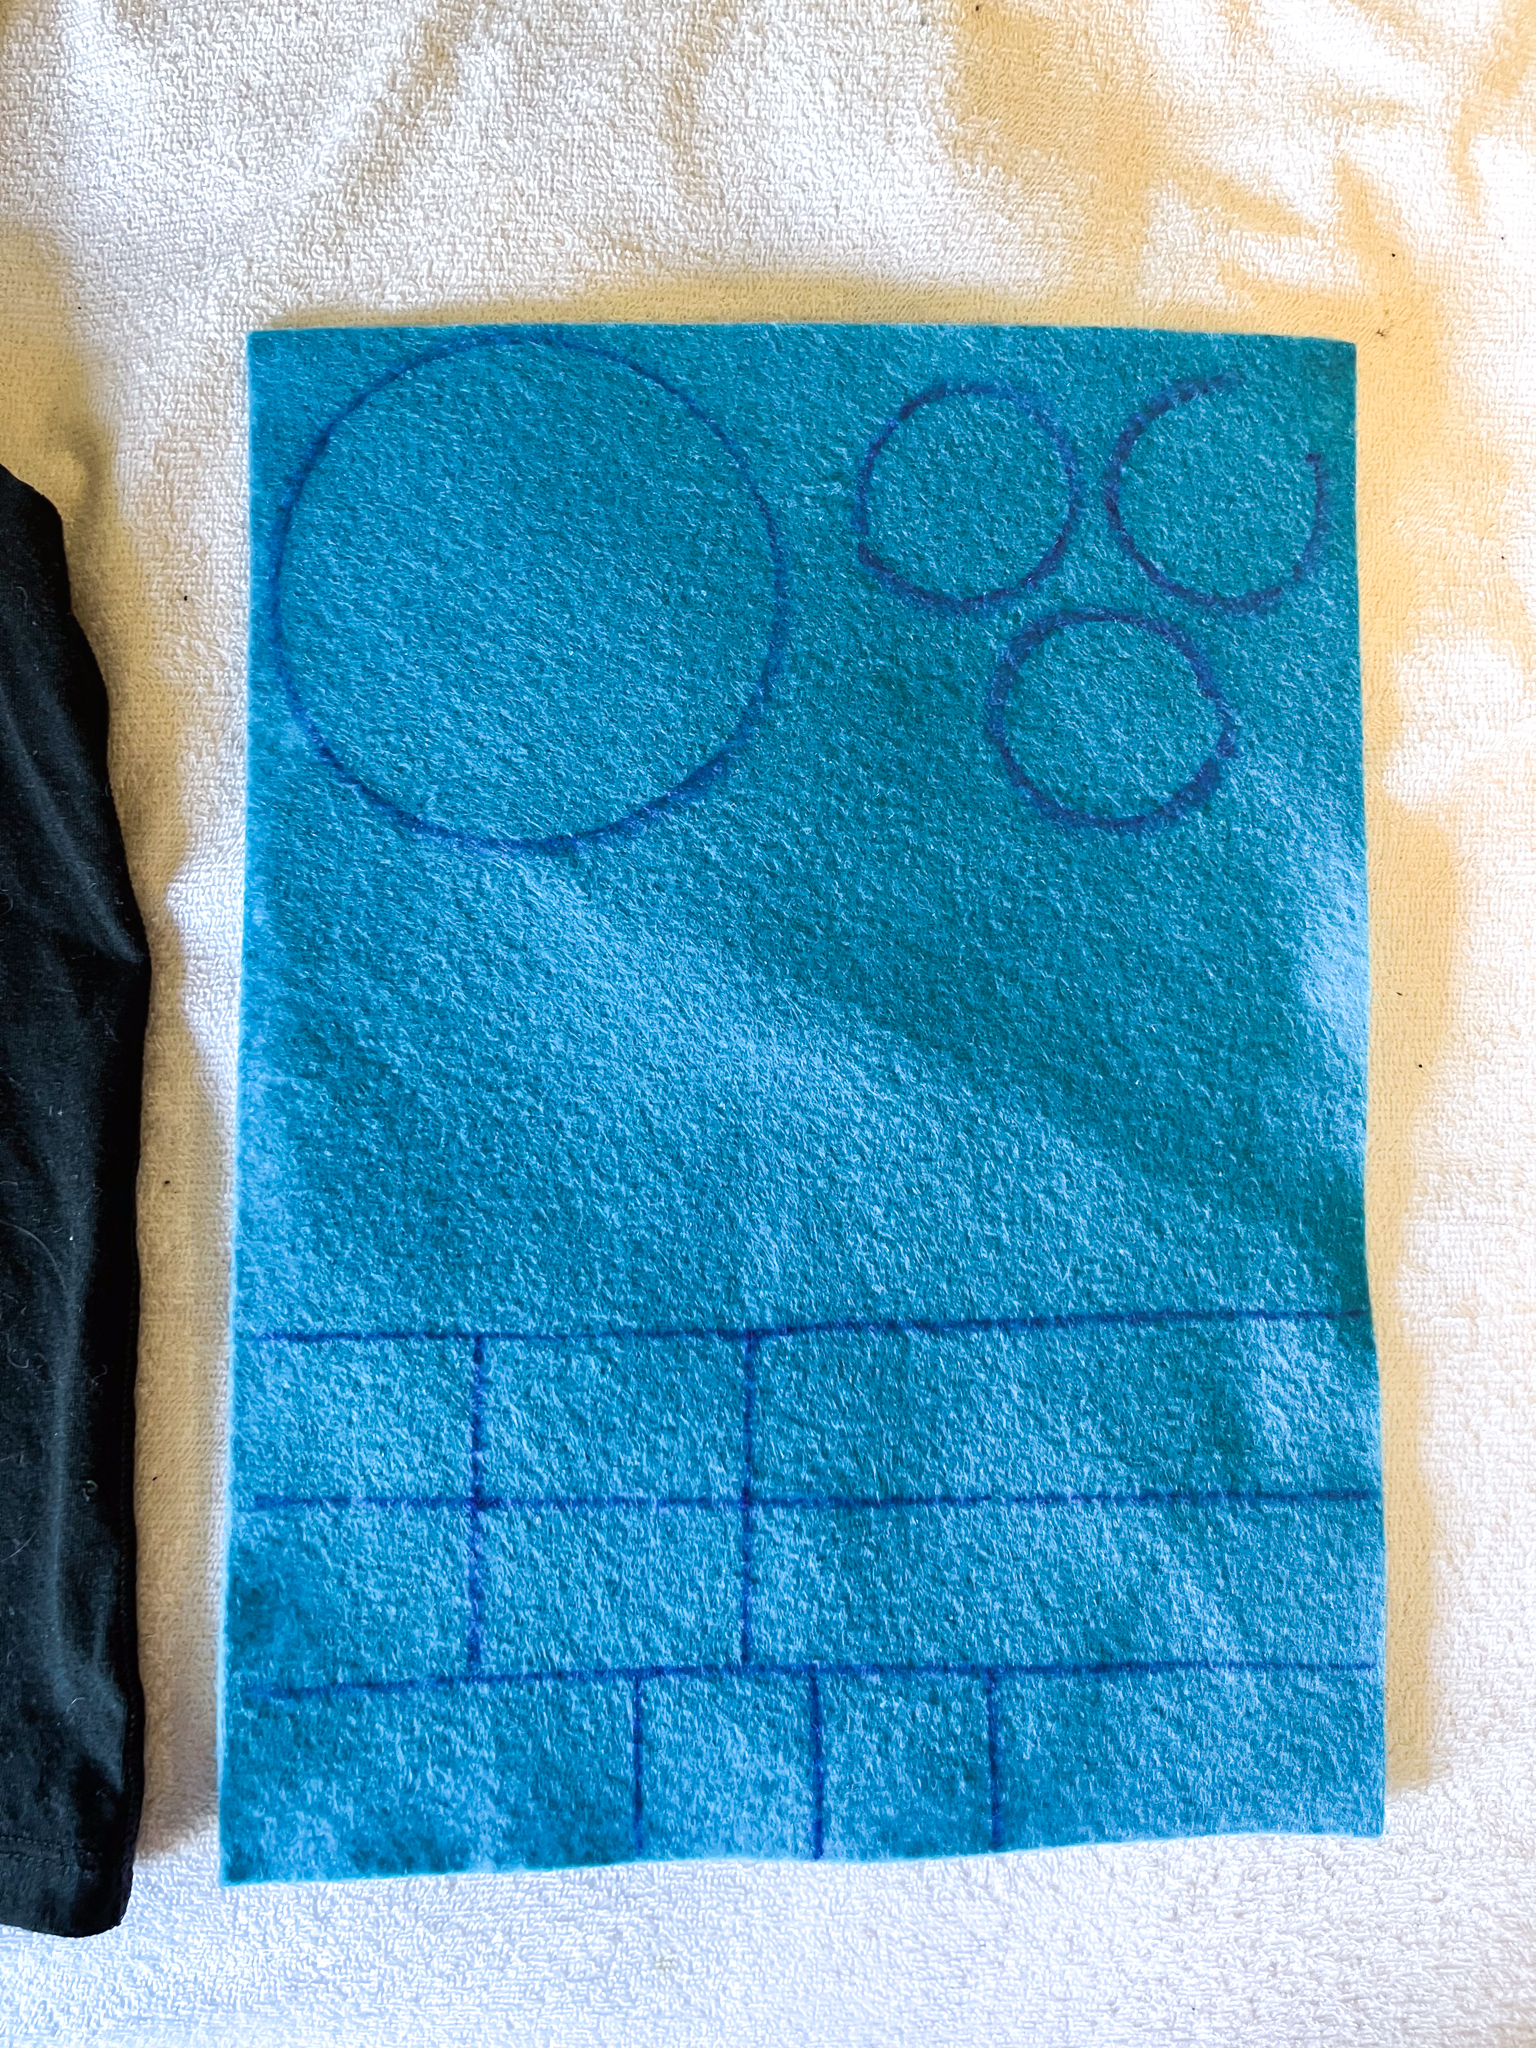
Once I measured everything out onto the felt, I used the fabric scissors to cut it out.
I cut outside of the sharpie line to give each piece a darker border.
Step 3: Glue
The final step brings everything together. I used images of the vest I found online to guide the placement of my accent pieces. I eyeballed their positions, but if precision is your preference, feel free to use a ruler to ensure exact placements.
A word of advice: Initially, I purchased three small glue bottles, as shown in the materials picture I shared earlier. However, I found myself running back to the store, realizing that only one of those petite tubes was what I needed, and I ran out quickly. I recommend investing in the larger bottle of glue, as you’ll be surprised at just how much you’ll need to secure each element firmly in place.
Final Product
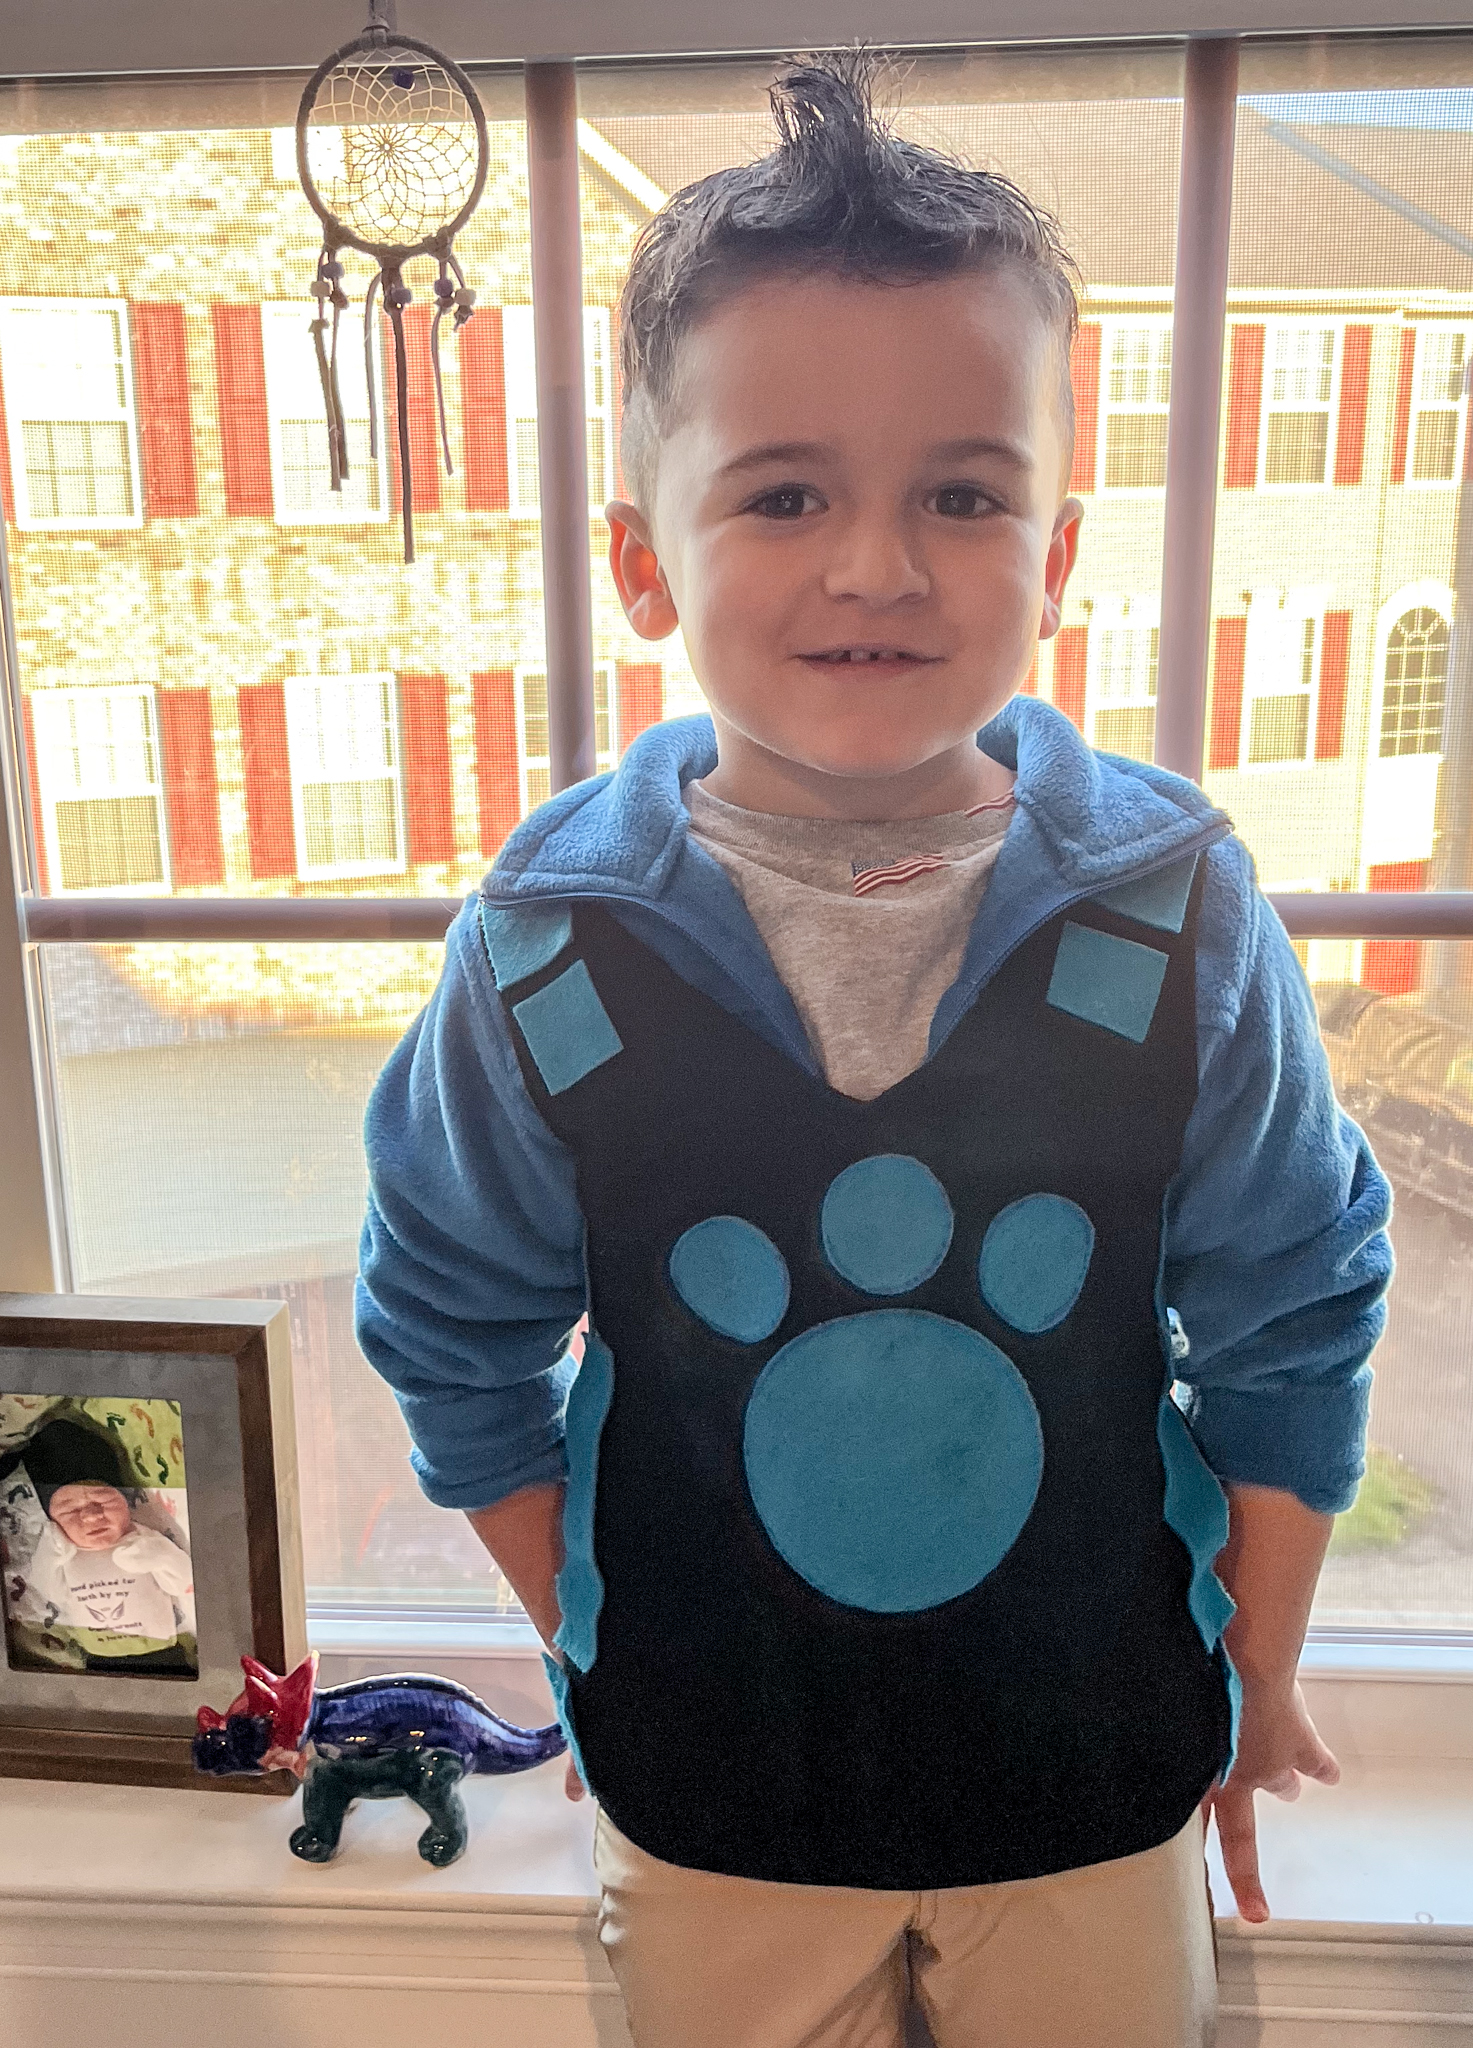
I made a vest for both Graham and Eric, and I think they turned out great!!
This was a super quick, and easy no sew costume idea, great for Halloween or just a Wild Kratts-loving kiddo.
Did you like this DIY? Check out our DIY section for more
I made these for my wild kratt-loving kiddos and these instructions were so helpful! Thank you so much for posting. I made it even easier by using adhesive felt and avoiding glue altogether.
I don’t consider myself very crafty, but my son said “mom, you’re the best at making costumes!” while I was making these 🙂 Thank you again!