
Tools and Supplies Needed
Simply Secen earns from qualifying purchases. This post contains affiliate links. If you choose to purchase after clicking a link, we may receive a commission at no extra cost to you.
- Tape Measure
- Pencil
- Jig Saw
- Preferred Wood or MDF
- Stain (sponges or cloth to apply stain) or Paint
- Orbital Sander/Sand paper (optional)
- Tack Cloth
Construction
We chose to do two arches, one was 4′ x 2′ and the other was 5′ x 2′. We also chose to use MDF board, as it was an easy material to work with, was easy to paint, and was the most affordable.
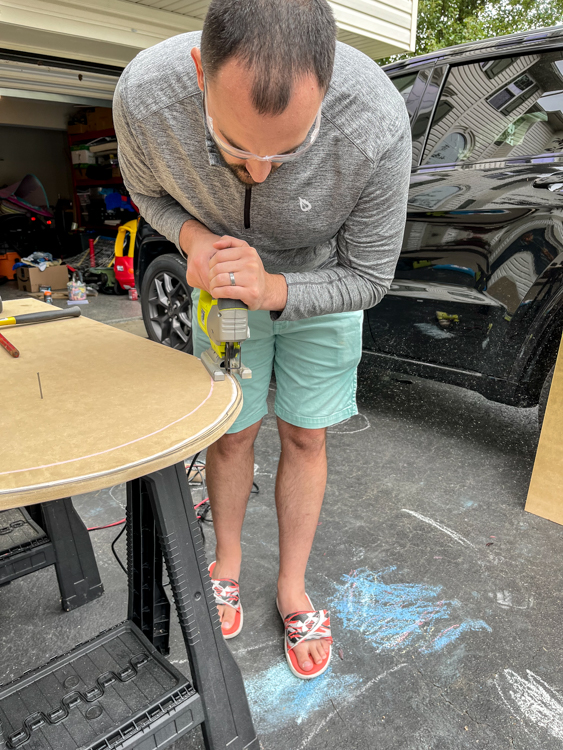
The first step is to get the MDF board cut down to the size you need it. We got the wood at Home Depot and they cut it for me. Once I got the boards home I created a stencil in order to mark the boards accurately to get a clean arch. I then took my jigsaw and cut along the marks I made.
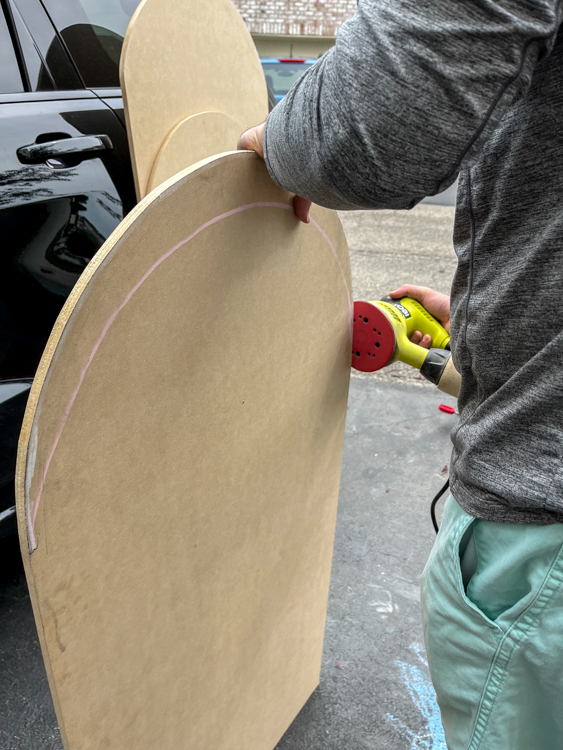
After making the cuts I used my sander to clean up and parts of the arch I wasn’t quite happy with. I also sanded the other edges to make sure there were no rough edges. I then used the tack cloth to make sure no excess sawdust was left.
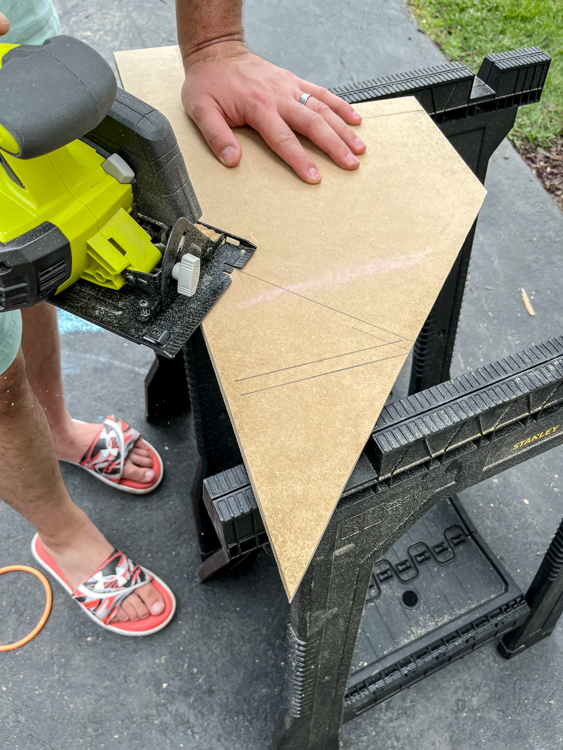
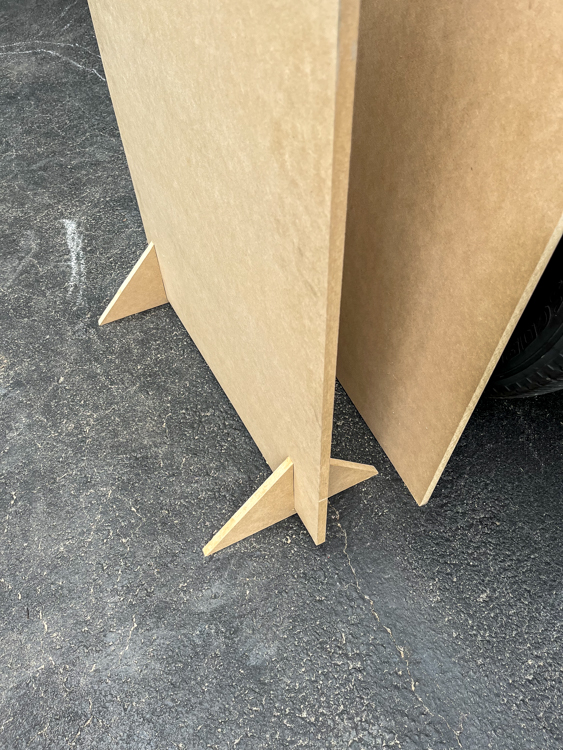
To allow them to stand up on their own, I knew I needed to create some type of leg. To make these I used some of the excess wood I had leftover from cutting down the arches. I used my jigsaw to cut simple indents into the wood that would allow the arches to sit in them. I made two for each board.

Finally, I chose white and pink paint to cover the boards. I only ended up painting the front and sides because the back was not visible.
The Finished Product
The perfect addition to any event!