
With summer in full swing, there’s no better time to experience the joy of making your own homemade ice cream. We have had our ice cream machine for a few years now and we use it all the time! Whether you’re a novice or a seasoned pro, making this cool treat at home is not only fun but also allows you to customize flavors to suit your family’s preferences. It’s a fun activity to do together, and the end result is super yummy!
Simply Secen earns from qualifying purchases. This post contains affiliate links. If you choose to purchase after clicking a link, we may receive a commission at no extra cost to you
Why Homemade Ice Cream?
- Fresh Ingredients, Endless Flavors: When you make ice cream at home, you have full control over the ingredients. You can use fresh fruits, premium chocolates, nuts, and any other flavors you crave, ensuring a rich and satisfying experience with every scoop. You can make flavors that you crave, but can’t find at the grocery store.
- Quality and Purity: You know exactly what goes into your dessert, making it a healthier option for your family. We are trying to make healthier food options (don’t get me wrong we still snack and eat junk, but are looking for better options) so this one is a great one.
- Fun for All Ages: Making ice cream at home is a fantastic activity for kids and adults alike. It’s a chance to bond over a shared love for delicious treats and get creative with flavor combinations and toppings.
- Money Saving: If we can make it at home, we aren’t always running to the ice cream store down the street!
Getting Started: Homemade Ice Cream Basics
Honestly, our favorite recipe is the vanilla one that came with our Cuisinart Ice Cream Maker.
Ingredients You’ll Need:
- Heavy cream
- Whole milk
- Sugar
- Salt
- Vanilla extract
Equipment:
- Ice cream maker
- Mixing bowls
- Electric hand mixer
- Freezer-safe containers for storing the ice cream – we recycled old grocery store ice cream containers!
Step-by-Step Guide to Homemade Ice Cream
- Mix the Base: Combine the milk, sugar and salt into a large bowl. We find it easiest to use a large glass measuring cup. Using a hand mixer, you will mix everything together until it looks like there is no more sugar at the bottom. Once that is all mixed, you’ll add in the heavy cream and vanilla. Just gently stir because you don’t want to whip the cream.
- Chill the Mixture: So directions with the ice cream maker say to chill for 1-2 hours. We have chilled it and made it right away and I can’t say I have noticed any difference.
- Churn the Ice Cream: Pour the mixture into your ice cream maker and follow the manufacturer’s instructions. Ours says 15-20 minutes. We typically need the full 20 minutes.
- Freeze and Enjoy: It is so tempting to want to eat it after it churns, but it isn’t ready just yet! Right after churning, it is more like a milk shake consistency, so you’ll need to transfer the freshly churned ice cream into a freezer-safe container. Allow it to firm up in the freezer for a few hours before serving. Scoop, garnish with toppings if desired, and enjoy your homemade creation!
Flavors
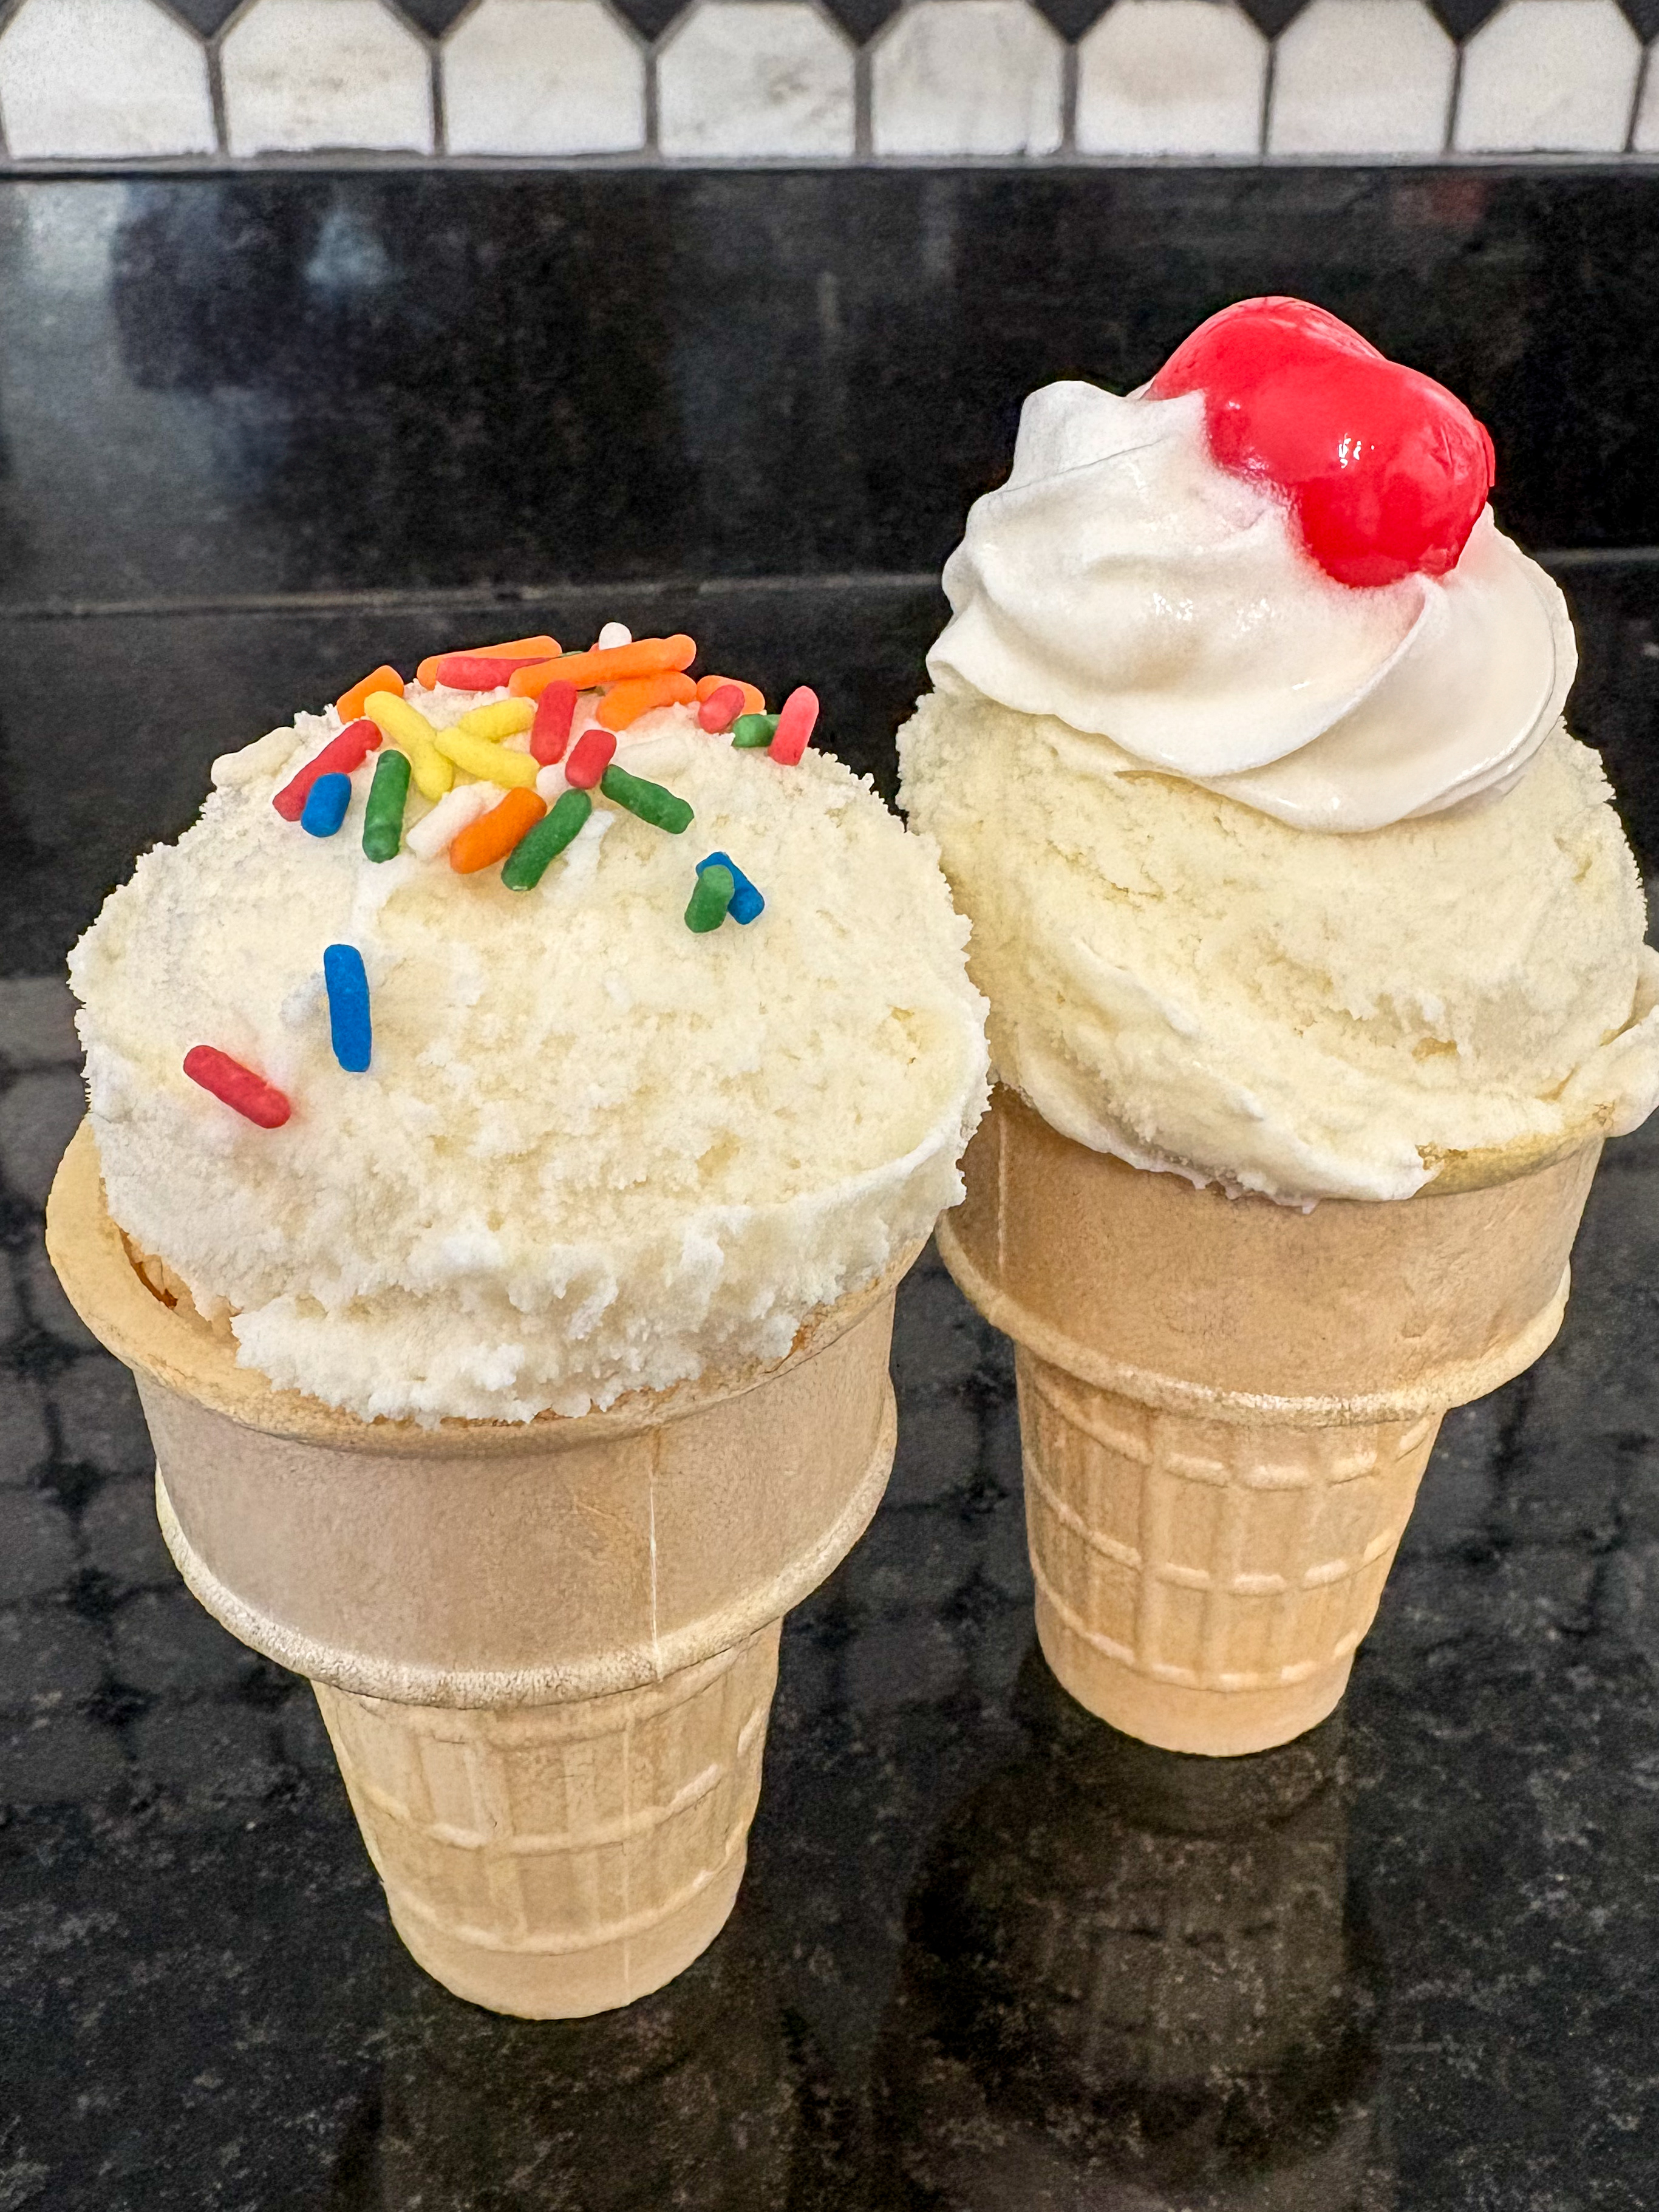
This recipe is just a classic vanilla ice cream. An easy way to change up the flavor is to add different mix-ins. You will add those in after about 10 minutes of churning. Some of the mix-ins that we like are – cookies, chocolate chips, cinnamon, crushed peppermint, cookie dough, and sprinkles.
We also love to add toppings to our ice cream, especially when it is the vanilla base. My kids really like adding the syrup that turns into a chocolate shell, and cherries are a must!
Make it, and Enjoy!
Making homemade ice cream is not only a fun activity to do with kids but also a delightful way to treat yourself and your loved ones to something special. Experiment with flavors and create memories that will last beyond the last spoonful. Whether it’s a sunny afternoon or a weekend gathering, homemade ice cream is sure to be a hit.

Homemade Vanilla Ice Cream
Ingredients
- 1 cup whole milk
- 3/4 cup granulated sugar
- pinch of salt
- 2 cups heavy cream
- 1 tbsp vanilla extract
Instructions
- Mix the Base: Combine the milk, sugar and salt into a large bowl. We find it easiest to use a large glass measuring cup. Using a hand mixer, you will mix everything together until it looks like there is no more sugar at the bottom. Once that is all mixed, you'll add in the heavy cream and vanilla. Just gently stir because you don't want to whip the cream.Chill the Mixture: So directions with the ice cream maker say to chill for 1-2 hours. We have chilled it and made it right away and I can't say I have noticed any difference.Churn the Ice Cream: Pour the mixture into your ice cream maker and follow the manufacturer's instructions. Ours says 15-20 minutes. We typically need the full 20 minutes.Freeze and Enjoy: It is so tempting to want to eat it after it churns, but it is ready just yet! Right after churning, it is more like a milk shake consistency, so you'll need to transfer the freshly churned ice cream into a freezer-safe container. Allow it to firm up in the freezer for a few hours before serving. Scoop, garnish with toppings if desired, and enjoy your homemade creation!
Looking for more sweet treats? Check out some of our other awesome recipes.